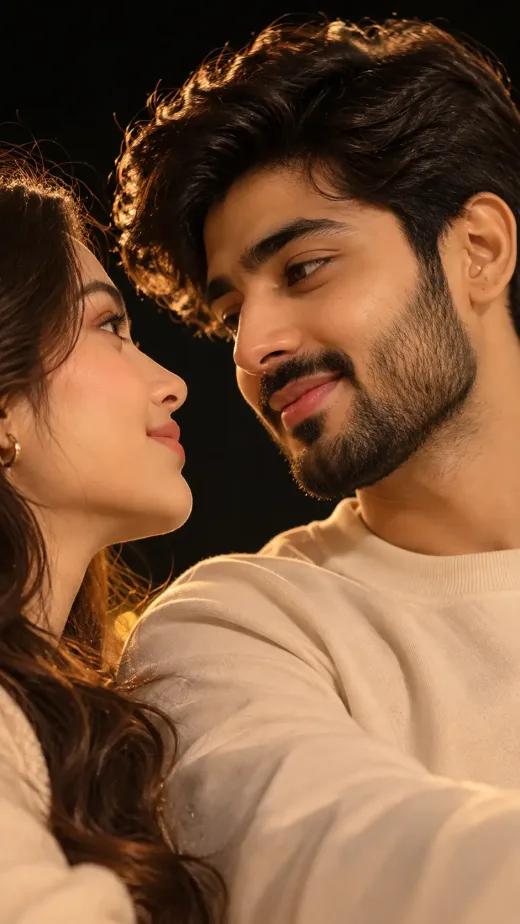
How to Write AI Photo Prompts That Actually Work (Beginner Guide)
Most AI photos look average because most prompts are average. Learn the 5-part formula professional prompt writers use — subject, setting, light, lens and style — with real examples you can copy today.
Why most AI photos look average
Open any AI image feed and you will see the same pattern: beautiful technology, forgettable images. The problem is almost never the tool — it is the prompt. Most people write "a portrait of a woman in a park" and wonder why the result looks like a stock photo from 2009.
The good news: prompt writing is a learnable skill, not a talent. Professional prompt writers follow a repeatable structure, and once you know it, every image you generate improves immediately.
The 5-part formula every good prompt follows
Almost every high-quality photo prompt is built from the same five layers:
- 1Subject — who or what is in the frame, described specifically
- 2Setting — where the scene happens, with real-world texture
- 3Light — the single most underrated ingredient in photography
- 4Lens and format — the camera language that changes how everything looks
- 5Style and mood — the emotional coat of paint over the whole image
Compare these two prompts:
- *Weak:* "a woman on a rooftop"
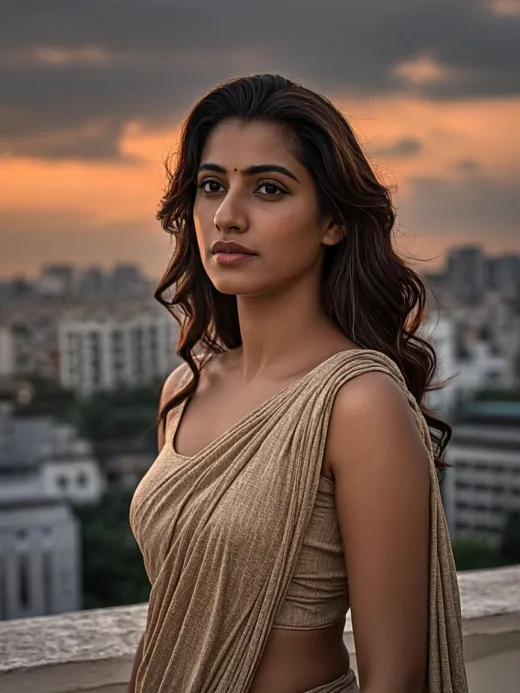
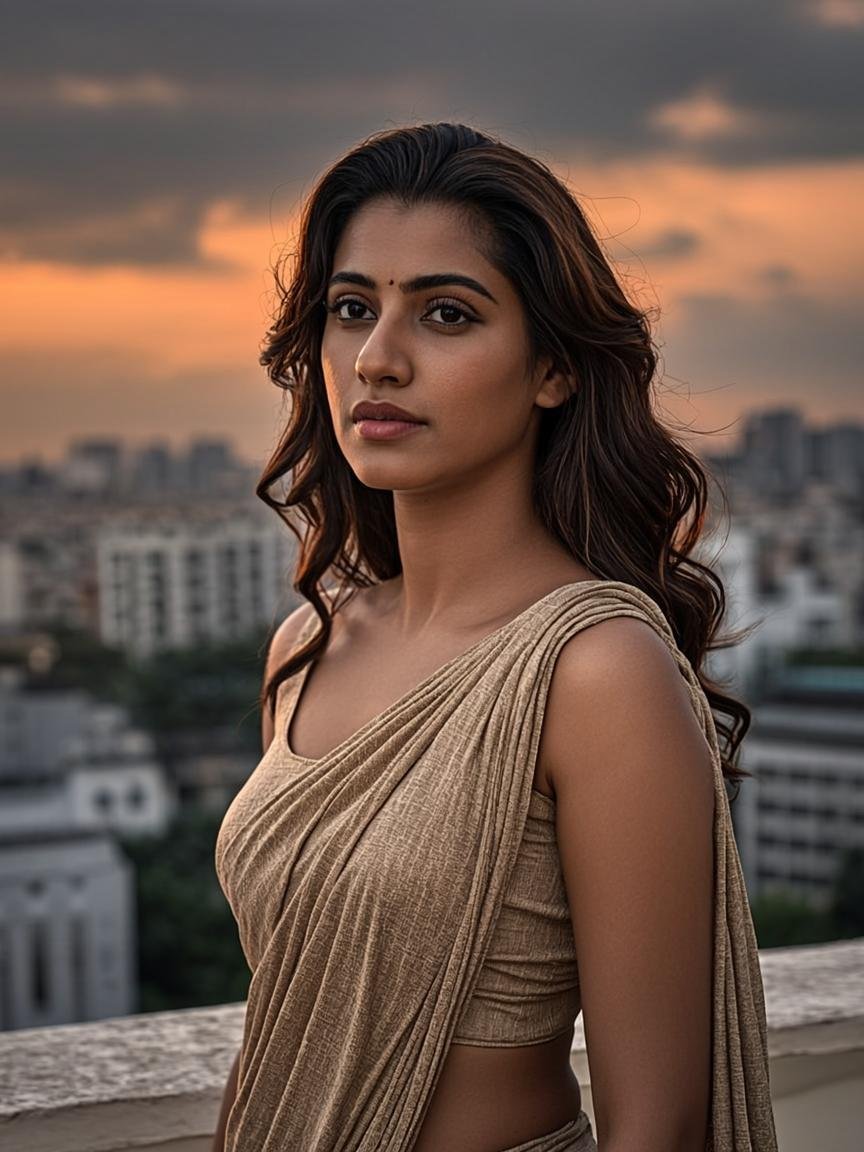
- *Strong:* "Cinematic portrait of a young Indian woman on a Mumbai rooftop at golden hour, warm rim light on her hair, teal and orange grading, 85mm lens, subtle film grain"
Same scene, completely different image. The second one is our cinematic rooftop portrait prompt, and the difference is entirely in the five layers.
Layer 1: Describe the subject like a casting director
"A woman" gives the AI nothing to work with. Give it specifics that matter to the image: age range, expression, outfit, what the hands are doing, which direction they are looking.
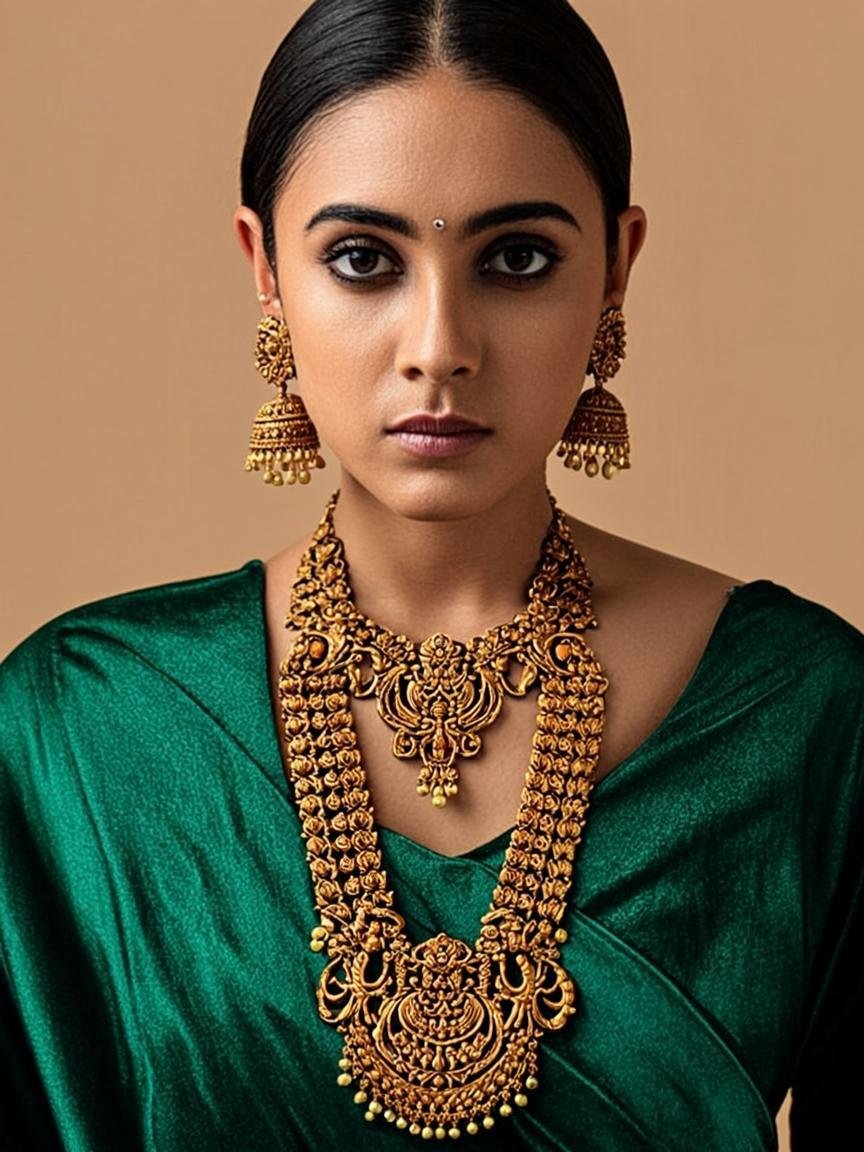
The trick is to describe the effect you want, not just the object. Instead of "happy", write "laughing with eyes closed". Instead of "stylish", write "wearing a structured emerald saree with gold temple jewellery". Notice how much more control this gives you.
Layer 2: Settings need texture, not labels
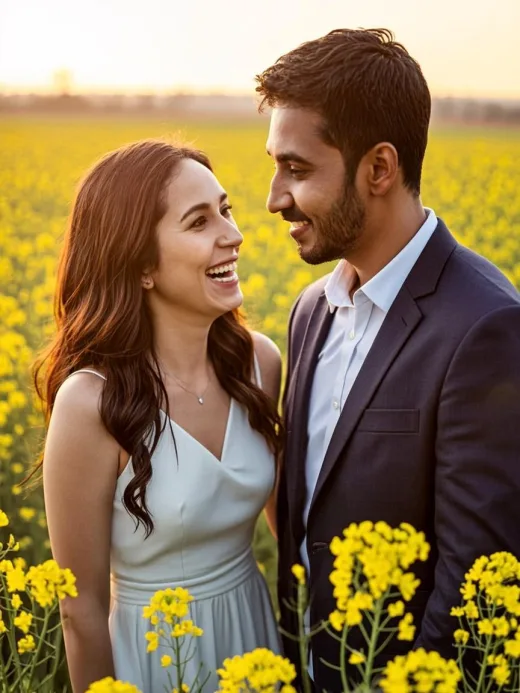
AI models were trained on real photographs, so real-world specificity pays off. "In a park" is a label. "In a field of yellow mustard flowers at sunset" is a scene — the model can visualise it because it has seen thousands of photos exactly like it.
Indian settings work beautifully here: Mumbai rooftops, mustard fields, Diwali balconies with diyas, rain-soaked streets with neon signs. The more culturally specific your setting, the more distinctive your image.
Layer 3: Light is the secret ingredient
If you learn only one thing from this guide, learn this: describe the light, always. Photography literally means drawing with light, and the same scene becomes a completely different image under different light.
The four light moods worth memorising:
- Golden hour — warm, flattering, cinematic (the last hour before sunset)
- Blue hour — moody, cool, contemplative (just after sunset)
- Soft window light — clean, editorial, commercial
- Neon rim light — dramatic, modern, viral-friendly
Layer 4: Speak camera language
You do not need to be a photographer. You need exactly four camera phrases:
- "85mm portrait lens" — the classic flattering portrait look with blurred backgrounds
- "50mm lens" — natural, documentary feel
- "35mm film look" — grainy, story-driven, nostalgic
- "shallow depth of field" — blurry background, sharp subject
Adding one lens phrase to a prompt instantly makes it look more professional.
Layer 5: Style words that actually do something
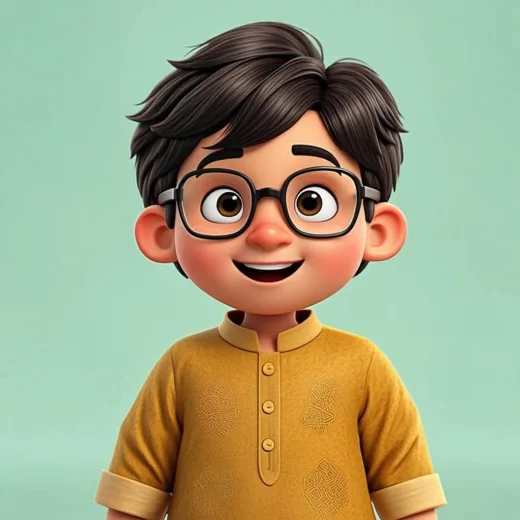
Style words are shortcuts to entire visual traditions. "Cinematic" pulls in film colour grading. "Editorial" pulls in magazine lighting. "Kodachrome tones" pulls in 1970s film colours. "Pixar animation style" pulls in warm 3D cartoon rendering.
Use one or two style anchors per prompt — stacking five competing styles confuses the model and muddies the result.
Putting it all together
Here is a complete prompt using all five layers, from our viral neon butterfly wings prompt:
Trendy AI viral portrait of a young Indian woman with neon butterfly wings made of glowing holographic light, cyberpunk aesthetic, pink and cyan neon rim lighting, dark background with smoke, futuristic fashion editorial, hyper-detailed
Subject: young woman with holographic wings. Setting: dark smoky scene. Light: pink and cyan neon rim light. Style: cyberpunk fashion editorial. Every layer present, every layer doing work.
Common beginner mistakes to avoid
- Too short. Under 15 words and you are leaving everything to chance
- Too crowded. Three subjects and five styles in one prompt equals visual soup
- No light description. The number one reason results look flat
- Copying prompts blindly. Copy a prompt, then change one layer at a time so you learn what each part does
Your 20-minute practice plan
- 1Pick any prompt from our gallery
- 2Generate it exactly as written — this is your baseline
- 3Change only the light description, regenerate, compare
- 4Change only the lens phrase, regenerate, compare
- 5Change the setting, regenerate, compare
After three rounds you will understand prompt structure better than 90% of AI users. Welcome to the craft — now go make something people stop scrolling for.